Learning solid knife skills might mean the difference between seeing kitchen labor as a drudgery and a joy. It can imply the difference between unevenly cooked foods with poor taste development and exceptional results. There’s a reason why knife work is the first class any culinary student takes and the first job any beginning cook has in the kitchen.
This post will focus on two areas of fundamental knife skills: Knife grip styles and fundamental strokes. Click here to read an article about chef’s knife styles if you would like some insight as to what kind of knife you should be using.
Basic Knife Skills: Knife Grip and Support Hand
Just like learning how to put on a cape is the first step in battling crime, learning how to hold a knife is the first step in perfecting knife abilities.
The handle grip and the blade grip are the two most common grips. If you’ve only ever used the handle grip, try the other one—your cuts might improve substantially.
Grip Style One: Handle Grip
Your hand is totally behind the bolster on the handle itself while using the handle grip. It is typically utilized by inexperienced cooks or by cooks with unusually small hands. It’s comfy, however, it only gives you a limited amount of control while conducting precision knife work.
Grip Style Two: Blade Grip
For more experienced cooks, the blade grip is the ideal grip. Your thumb and forefinger should be directly on the blade in front of the bolster (the point where the metal expands out to meet the handle). It’s a touch daunting, but it provides far more control and balance. On inferior stamped knives without a bolster, this grip may be difficult and/or uncomfortable.
Support Hand: The Claw
Always cut foods in a stable position, preferably with the cut surface flat against the cutting board. With your free hand, guide the knife blade against the meal. Here comes the claw. Protect your fingertips by curling them inwards and guiding your knife with your knuckles.
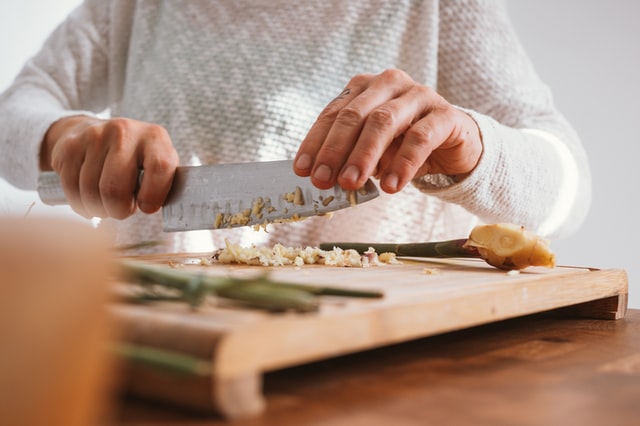
Advanced Technique: Mincing
A fine mince necessitates the use of one’s support hand. Place the tip of your blade on the cutting board and secure it with your free hand. Rock the blade up and down to finely mince herbs (or anything else).
Basic Knife Skills: The Four Basic Knife Strokes
Cooking without understanding these fundamental strokes is akin to running without knowing how to tie your shoes. These are the four strokes that everyone should be familiar with.
Here’s what we’re going to talk about:
- One: Slicing
- Two: Chopping
- Three: Back-Slicing
- Four: Rock-Chopping
You may find yourself utilizing some more than others depending on the sort of knife you use—slicing and the rock chop are more popular with Western-style curved blades, while chopping and back-slicing are more often with straighter santoku-style knives—but all are useful to have in your arsenal.
If you’re a kitchen noob, you might want to reference the section in this post on how to hold a knife properly. Being familiar with blade grip, bolster, and the claw are essential to properly executing these knife strokes.
The Slice
What It’s Good For:
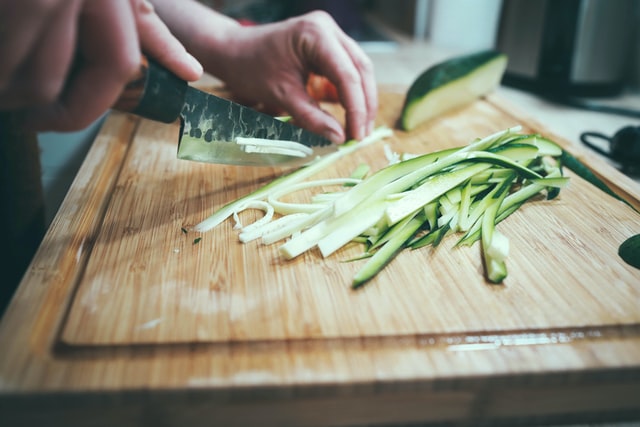
With a Western-style chef’s knife, it’s used for slicing large vegetables and meats, as well as rough-slicing herbs.
How It’s Done:
By splitting it in half or slicing off a little portion of its face, you may create a flat, firm surface for your food to rest on. With your non-knife hand, hold the food steady by curling your fingers into a claw and tucking your knuckles underneath.
With the knife inclined upwards and the flat side resting against your knuckles, place the tip of the blade against the cutting board.
Pull the knife backwards slightly, keeping the tip of the blade in constant contact with the cutting board, until the blade slices into the food.
Continue by pressing downwards and forwards, slicing through your meal with the entire length of the blade.
Repeat in a circular motion, always maintaining the blade tip against the board.
The Chop
What it’s Good For:
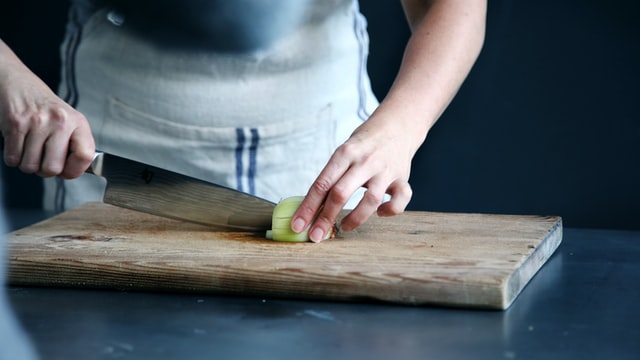
Precision vegetable and herb cutting using a santoku-style knife. This cut is interchangeable with the slice for all intents and purposes; it’s merely a matter of comfort and preference (I almost exclusively slice). To get the chop to work without cursing your meal, you’ll need a razor-sharp knife.
How It’s Done:
By splitting it in half or slicing off a little portion of its face, you may create a flat, firm surface for your food to rest on. With your non-knife hand, hold the food steady by curling your fingers into a claw and tucking your knuckles underneath.
Hold your knife blade flat on your knuckles, with the entire knife elevated above the cutting board.
Press down in a clean, even stroke, slightly sliding the knife forward as you go.
Repeat by lifting the blade back up.
The Back-Slice
What it’s good for:
Using a santoku or a Western-style chef’s knife, make precise slices of small, delicate items like herbs with minimum crushing.
When chopping herbs, arrange the leaves and roll them into a tight bundle. With your non-knife hand, hold the food steady by curling your fingers into a claw and tucking your knuckles underneath.
How It’s Done:
Place the blade’s tip against the cutting board, with the flat making contact with your knuckles.
Holding the knife at as low an angle as possible, steadily pull rearward, using the entirety of the blade to slice through your meal with no downward action.
Pull backwards until the point of your blade completely slices through the food.
Remember, NO DOWNWARD MOTION AT ALL! The goal here is maximum horizontal motion (i.e. slicing) as possible while having as little vertical motion as possible (i.e. crushing).
The Rock Chop
What It’s Good For:
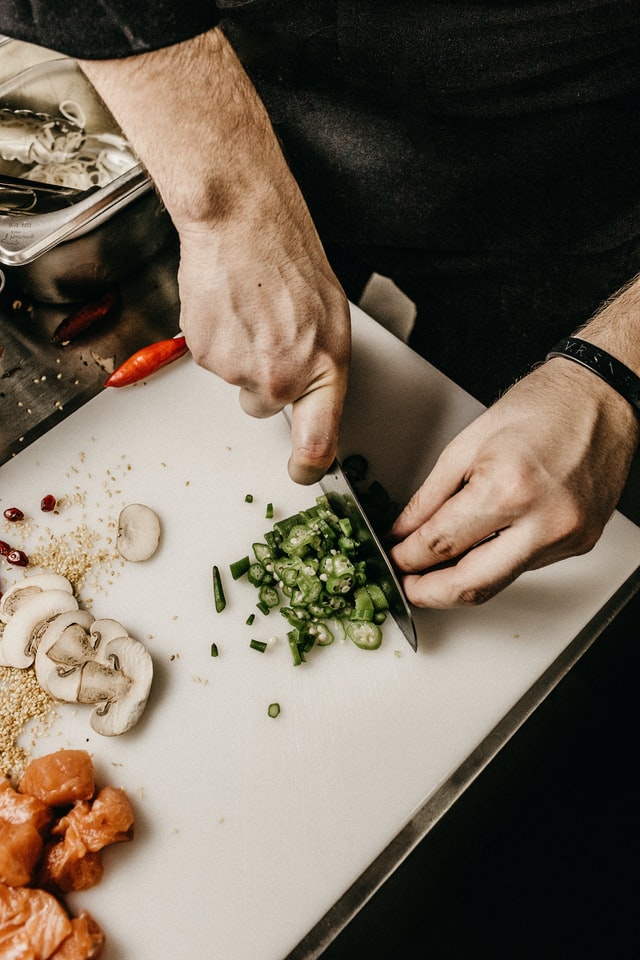
It’s used to finely mince fresh herbs, zest, or other aromatics.
How It’s Done:
Using the slice or chop, roughly chop your ingredients, then gather them into a small mound. Put the tip of your knife on one edge of the pile and balance it with your support hand.
Rock the knife with the curve of the blade, re-gathering the items as needed, until they are as finely minced as you prefer.
Remember to always position your knife blade at a steep angle to the chopping board when gathering your ingredients—dragging it precisely perpendicular will cause it to dull faster than it should!
The Final Word On Knife Skills…
As with many other things, when it comes to knife skills, practice makes perfect. Now that you are familiar with how to hold your knife and how to execute the four basic strokes, the next step is to grab that blade and get to work. Over and over and over again. The only way to master this skill is to practice continually. Happy cooking!!