Is there a one-size-fits-all method for cooking a steak, a pork chop, or a piece of fish? It’s a tempting idea, but it’s also impossible. The optimum strategy is determined by the desired outcomes.
Let’s take a look at a steak. If you value uniformity and a flawlessly cooked center from edge to edge with absolutely no doneness gradient, sous vide or reverse sear are the ways for you. For many individuals reading this, those traits may seem self-evident—after all, a beautiful medium-rare center throughout is what we’re all chasing!
Except that’s not the case. I, for one, value other traits more, and I know many professional and amateur cooks who agree. I’ll frequently forego that ideal edge-to-edge doneness in favor of a more burnt caramel browned crust with the flavor of roasted beef so intense that it causes some primeval ganglion of nerves in my brain to shout in joy.
That’s why I’d like to return our attention to an older-school way of preparing meats and fish, one that doesn’t begin by cooking low-and-slow to the right internal temperature à la sous vide and the reverse sear. Instead, it’s a classic technique known as pan-searing that, for my money, consistently produces the types of steaks, chops, and fish that I love.
Disadvantages of Pan-Searing
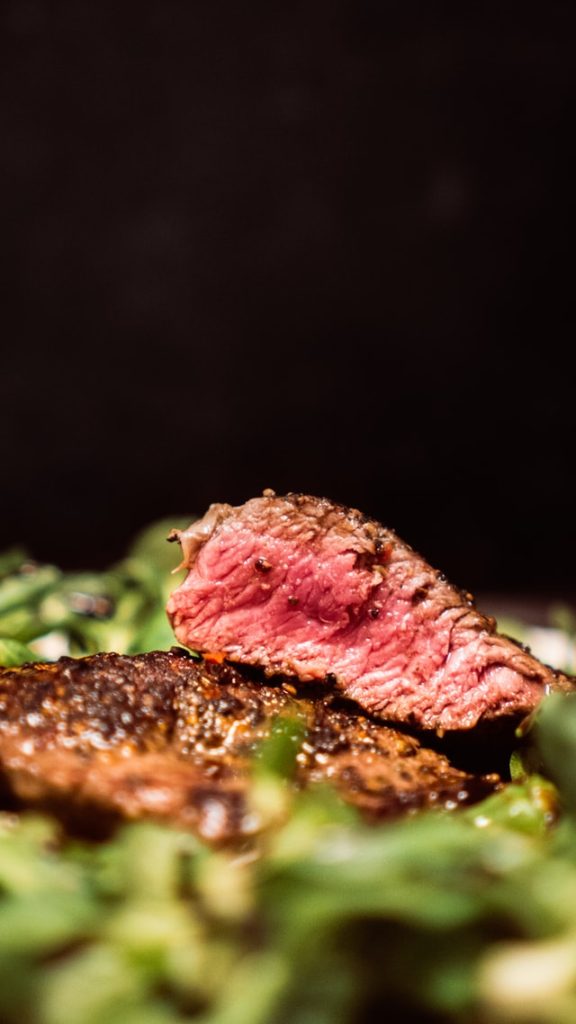
It takes more practice and finesse than the other methods, isn’t as foolproof, and will produce a gradient of doneness—that gray band of more well-done meat just beneath the surface. However, in exchange, it provides an unparalleled crust and a depth of taste that is difficult to duplicate. If you enjoy chewing on the deeply roasted ends of a fatty steak, this method may be for you.
The Best Sear Possible
By starting the meat in a hot skillet with heated oil and then continually basting it in that pan with butter and herbs, you give it plenty of time to build a deeply wonderful crust thanks to the magic of our pals dehydration and the Maillard reaction. When done correctly, the process produces a crackling, potato chip–like crispness on the outside of the meat or the skin of fish. It’s a textural beauty that shatters as you bite into it, feeling thin and delicate.
Pan-Searing is a quick process
Because pan-searing is a more hands-on method than sous vide or reverse sear, it requires more active time. However, it is one of the quickest solutions available to you from start to finish. Because you are cooking the meat from both below and above by spooning melted butter over it repeatedly, your proteins will cook faster than if you were to sear it without basting.
I’ll power through the pros and cons of pan-searing , as well as how to adapt it for steaks, chops, chicken breasts, fish fillets, and more. The process is largely the same for all of them, with the exception of a few minor differences for fish.
Is pan-searing the only technique to cook a steak or any type of meat? No. However, depending on what you’re looking for, it may be the one you want to utilize.
How to Pan-Sear Steaks and Chops in Butter
This method is suitable for thick-cut steaks, chops (pork, veal, deer, or another animal), chicken breasts, and other meats. For optimal results, utilize cuts that are at least one and a half inches thick or thicker.
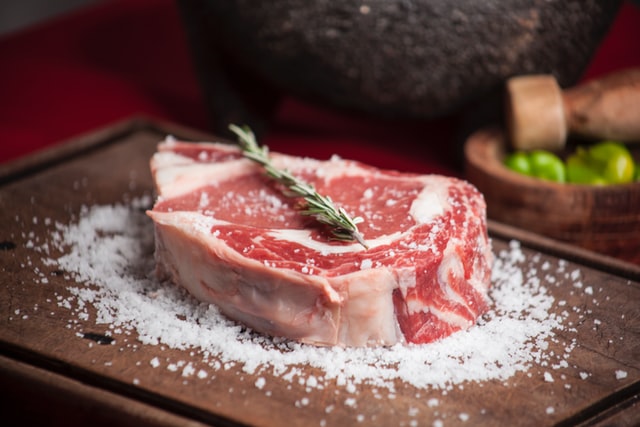
Step 1: Get the Meat Ready
Begin by seasoning your meat. If you have the time, season it all over with salt, place it on a wire rack set above a rimmed baking sheet (for good air circulation around all sides), and refrigerate it for at least 45 minutes, which is long enough for the salt to draw out water from the meat, form a brine on its surface, and then dry as the brine is reabsorbed ad evaporates.
If you’re on a tighter schedule, season the meat all over with salt shortly before putting it in the hot pan.
What you don’t want is damp meat in the pan, so dry it thoroughly with paper towels if necessary before putting it to the pan. Wet meat steams rather than sears, slowing the development of a beautiful, brown crust.
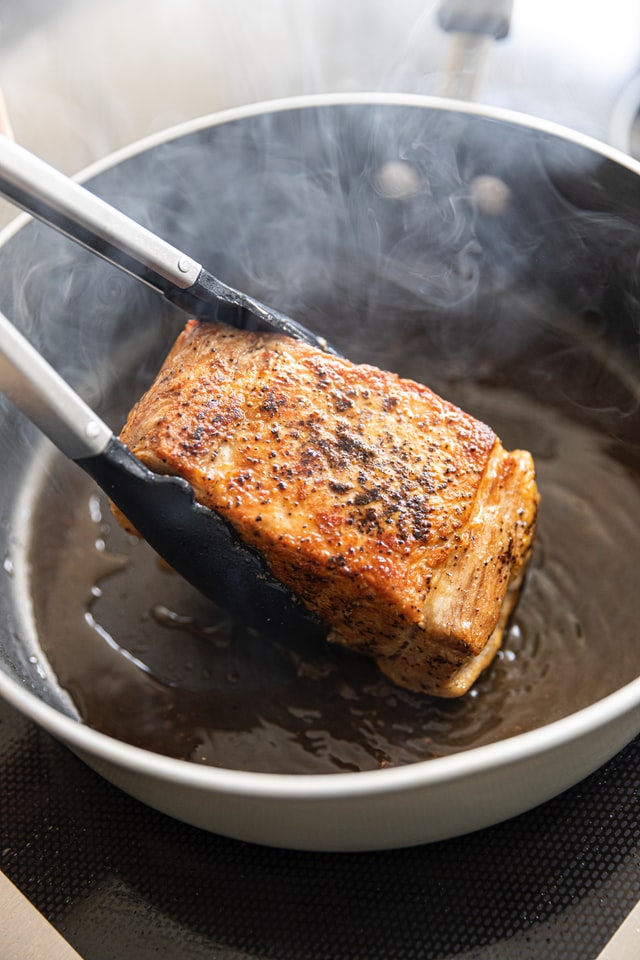
Step 2: Sear on high heat for a few minutes, flipping frequently.
Heat a tiny amount of oil in a cast iron or carbon steel skillet until it’s nearly smoking. Cast iron and carbon steel are suitable because they hold heat well, resulting in a more steady temperature when the chilled meat is placed on their surfaces.
Flip the meat frequently; contrary to popular belief, frequent flipping produces a better crust on the meat with a more uniformly cooked core.
Step 3: Mix in the butter and aromatics.
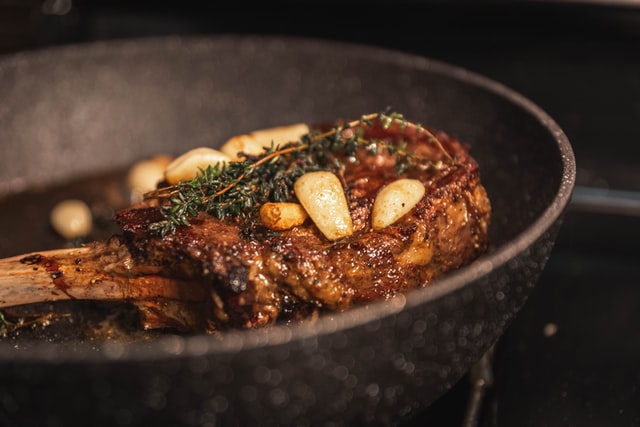
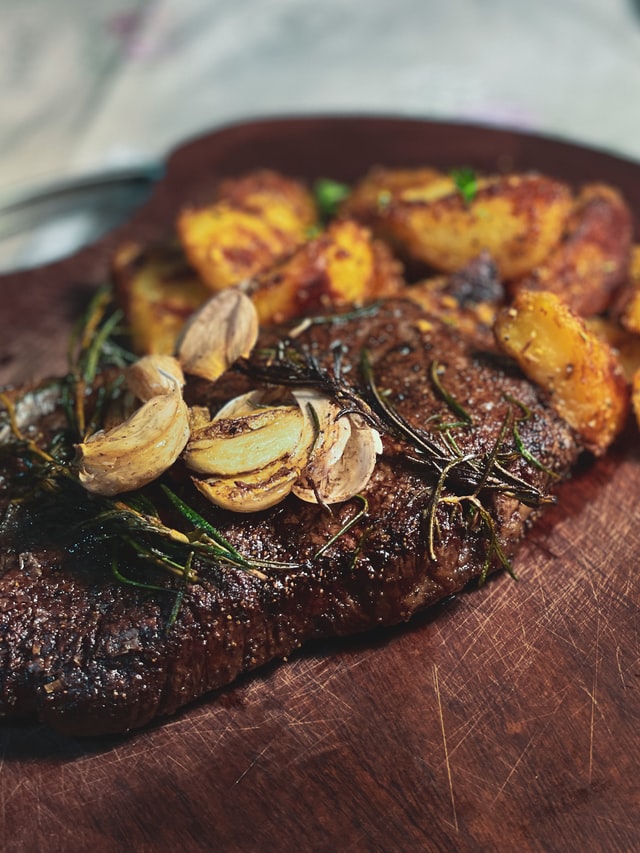
Once a decent sear has developed on both sides of the meat, add unsalted butter and aromatics to the pan. A garlic clove or two, a half onion, and woodsy herbs like thyme or sage are all nice choices. The butter will melt, and the herbs and aromatics will flavor the fat. The butter will soon begin to color, becoming creamy and nutty.
Step 4: Baste and flip frequently.
Lift the skillet by the handle to allow the fat to collect at the bottom. Begin scooping up the grease with a large spoon and dousing it all over the meat.
Stop and rotate the meat frequently (every 30 seconds to a minute) for a more evenly cooked middle.
Step 5: Monitor the Temp
Continue basting and flipping the meat, but take a break every now and then to check the temperature. We strongly advise using a good instant-read thermometer to avoid overcooking. A temperature of 120°F in the center of the steak or chop will yield rare meat; 130°F will yield medium-rare meat; 140°F will yield medium meat; and above that…well, do whatever you want, you’ve already entered well-done territory.
Step 6: Let It Rest
To rest, place the steak or chop on a wire rack set over a rimmed baking sheet. The meat will continue to cook as the leftover heat penetrates the meat, resulting in some carryover cooking.